Epoxy doesn't glue itself to concrete. It grips concrete — mechanically, by flowing into open pores and hardening inside them. Every peeling failure traces back to the same root question: were those pores actually open when the coating went down?
Find Your Symptom
The way a floor fails tells you a lot about why it failed. Find the description that matches what you're looking at.
It lifted where the tires sit
Cause — hot tire pickup on a weak bond
Hot tires soften a coating and grip it as they cool. On a properly ground floor the bond is stronger than that pull and nothing happens. On a weakly bonded floor the tire wins and takes the coating with it. Tire tracks are usually the first place a prep failure shows up, not a separate problem in themselves.
It peels off in large sheets
Cause — no mechanical profile at all
If you can lift a piece and it comes away clean, with smooth grey concrete underneath and no epoxy left stuck in the surface, the coating was sitting on the slab rather than in it. This is the signature of acid etching, pressure washing, or a light sanding used in place of grinding.
Bubbles, blisters, or pinholes
Cause — moisture or outgassing from the slab
Concrete sits on ground that holds water, and vapor moves upward through the slab. Coat over a slab that's driving moisture and the vapor collects under the film. It's also possible to trap air pulled out of the concrete as it warms during application. Either way the coating is being pushed off from below.
It stayed soft, tacky, or never fully hardened
Cause — mix ratio, temperature, or product limits
This one genuinely is a chemistry issue rather than a prep issue. Off-ratio mixing, insufficient induction time, or applying below the product's minimum temperature all prevent a full cure. A floor that never hardened will not improve with time and has to come off.
It failed only in patches
Cause — contamination or inconsistent prep
Coating holds in most of the garage but lifts in specific spots — often near where a car parked, by the door, or in one corner. Those areas usually had oil, a leftover sealer, or a curing compound the prep didn't remove. Epoxy bonded to the contaminant, and the contaminant let go of the concrete.
The Uncomfortable Common Thread
Four of those five point at surface preparation. That's not us being self-serving — it's the reason coating manufacturers write mechanical profiling into their own instructions and exclude prep-related failures from their warranties. The product in the bucket is usually fine. It just needed somewhere to grip.
Acid etching is the most common culprit, and it's not because homeowners are careless. Etching is widely recommended in kit instructions and tutorials, it's cheap, and it visually roughens the surface enough to feel like it worked. On soft, bare concrete it can produce an acceptable profile. On the hard-troweled slabs typical of North Texas garages, it often doesn't touch the dense surface layer at all.
Don't Recoat Over It
The instinct is to buy another kit and go over the bad areas. Don't. A new coating is only as attached as what's beneath it, and adding film thickness and weight on top of a failing layer tends to speed up the lifting. You'd be paying for materials twice to get the same result. Whatever failed has to come off first.
What Fixing It Actually Involves
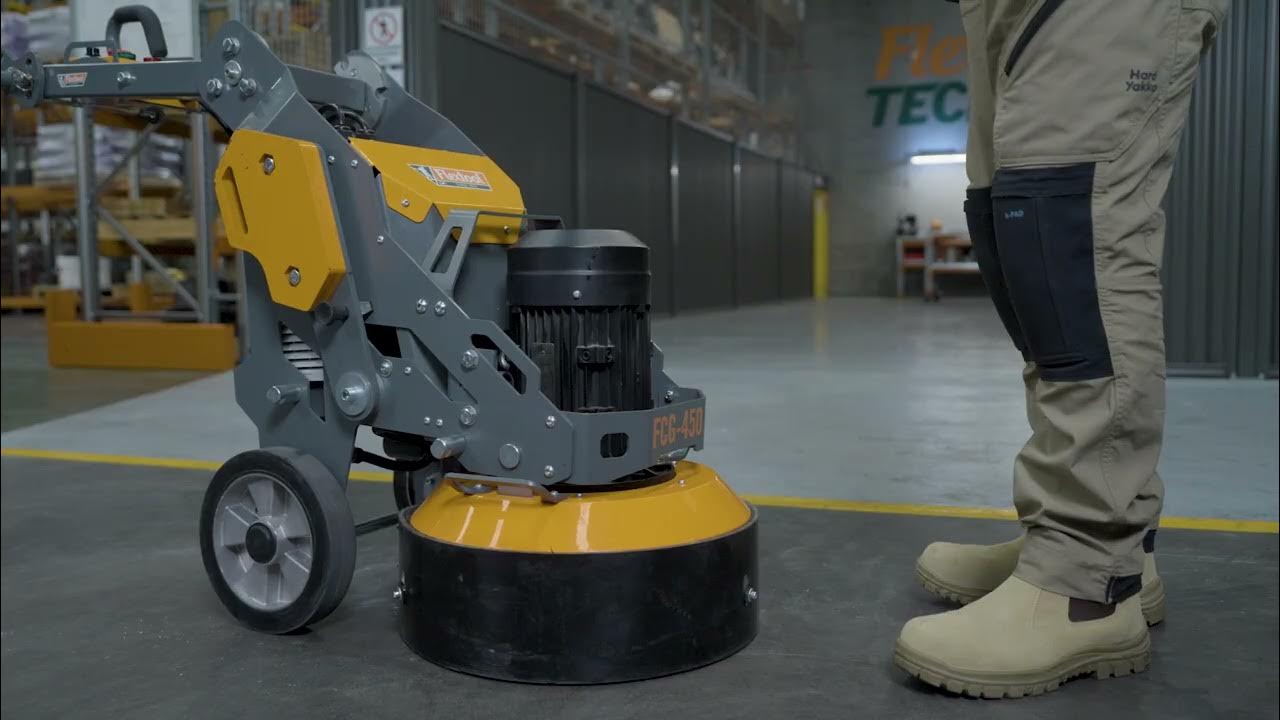
Removal is straightforward in concept and unpleasant in practice. Cured epoxy is soft and gummy compared to concrete, so it loads up and clogs standard diamond tooling — it needs segments made for coating removal and more passes than bare concrete would take. This is why remediation costs more than a fresh slab, and why it's the one job we'd most strongly discourage doing with a rental machine.
1
Remove all of the failed coating
Not just the loose parts. Any coating still stuck today is stuck to the same surface that let go elsewhere, and it will fail on its own schedule. The whole film comes off.
2
Identify what caused it
If moisture drove the failure, grinding alone won't fix it — that slab needs a moisture-tolerant approach or it fails again. Diagnosis happens before anyone talks about new coating.
3
Diamond grind to a real profile
Down to clean, open concrete with a consistent surface profile across the entire slab — the step that should have happened the first time.
4
Repair, then recoat
Cracks and spalls filled and ground flush, then a 100%-solids epoxy system installed on a surface that can actually hold it.
If You Still Want to Do It Yourself
Plenty of people who've had one floor fail still want to apply the next one themselves — and that's completely reasonable, because the coating step was never the part that went wrong.
We offer grinding as a standalone service for exactly this situation. We remove the failed coating, profile the slab properly, and hand it back to you clean and coating-ready. You buy your own materials and roll it on yourself. Prep-only starts at $350 for smaller slabs; removal work is quoted after we see the floor, since the effort depends heavily on how much coating is left and how well it's holding.
Worth being clear: prep-only work isn't covered by our 10-year warranty, because we can't stand behind a coating we didn't apply. Full details are on our
concrete grinding page, and if you're weighing renting a machine to do the removal, our
rental cost breakdown covers why removal is the worst job to attempt with one.
Send us a photo of the failure and your square footage. We'll tell you what we think went wrong and roughly what removal involves — whether or not you end up hiring us to do it.
Text Us a Photo
(945) 391-3931